
Introduction
Gua sha has surged in popularity as a simple, at‑home ritual for a radiant complexion. This comprehensive guide expands on three core pillars that determine results: tool geometry, stroke variations, and facial lymphatic drainage. By understanding how shape, technique, and drainage work together, you can tailor a safe, effective, and enjoyable routine that suits your skin type, lifestyle, and goals.
Historical Context: Gua Sha Across Cultures
Gua sha is rooted in traditional East Asian medicine, with centuries of use in Chinese skincare and healing. The term gua sha roughly translates to “scrape away” and refers to the practice of scraping the skin surface to stimulate microcirculation and energy flow. Modern adaptations emphasize non-invasive, evidence-informed approaches to skincare, blending ancient wisdom with contemporary skincare science. This guide respects the lineage while focusing on practical, consumer-friendly techniques you can safely adopt at home.
Tool Geometry: Shape, Material, and Edges
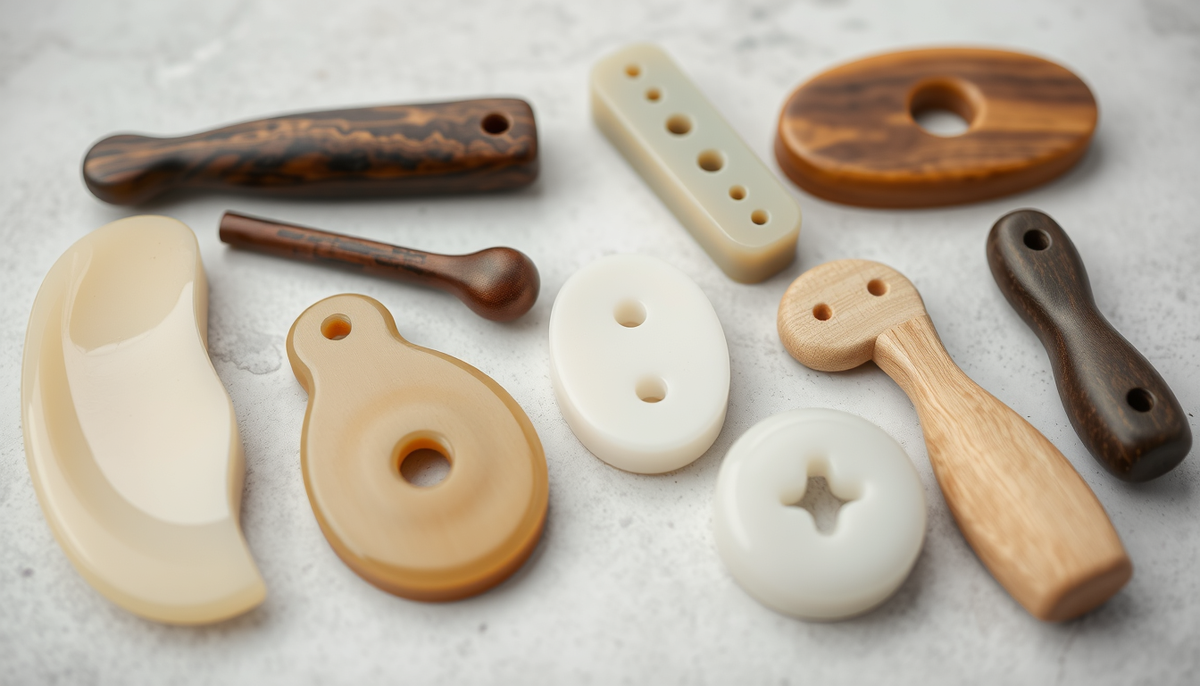
Tool geometry determines how the board interacts with the skin, how pressure is distributed, and where you can best target facial contours. Different shapes and materials offer distinct advantages depending on skin type and goals.
- Jade gua sha: classic, smooth, and typically cooler; forgiving for beginners and sensitive skin.
- Rose quartz gua sha: soft pink surface with a subtly grippy feel; favored for a luxurious experience and gentle handling on delicate areas.
- Metal and obsidian variants: sharper edges for precise work but require lighter pressure and careful technique on sensitive skin.
- Specialty shapes: spoon, leaf, or crescent designs offer targeted pressure zones and can follow unique facial contours.
Key geometry features to look for:
- Flat edges: ideal for broad sweeps over cheeks and jawline.
- Curved edges: follow cheekbone contour, jawline, and brow ridge for natural glide.
- Bevels and ridges: help access narrow areas like the nose sides or around the lips.
- Small, pointed tips: precise work around the nose, brows, and eye contour regions.

When choosing a tool, consider skin sensitivity, treatment areas, and how comfortable you are with the weight and grip. A well‑chosen geometry reduces drag, distributes pressure evenly, and supports a safer, more enjoyable routine.
Stroke Variations: Moving the Tool for Maximum Benefit
Stroke technique shapes the mechanical effects of gua sha. A practical library includes gliding, scraping, and drainage strokes, each serving different facial zones.
- Gliding strokes: long, smooth sweeps from the center of the face outward and upward. Use light to moderate pressure and a light facial oil or serum to minimize drag.
- Scraping (rolling) strokes: short, controlled pulls that lift and define contours. Move slowly and avoid tugging near delicate areas.
- Drainage strokes: gentle movements that promote lymphatic flow. Focus on the jawline, cheekbones, and forehead with outward directions toward the ears and hairline.
Pro tips for effective strokes:
- Begin with lighter pressure and increase gradually as you gain confidence.
- Maintain consistent, deliberate movements rather than quick, erratic sweeps.
- Lubricate the skin with a serum or oil to reduce friction and protect the epidermis.

For best results, tailor stroke selection to each area: broad glides on the cheeks, precise scrapes along the jawline, and drainage strokes toward the neck and lymphatic pathways.
Facial Lymphatic Drainage: Gentle, Rejuvenating Sequences
Facial lymphatic drainage helps reduce fluid retention, support contouring, and promote a brighter appearance. Follow a step‑by‑step sequence that respects natural lymph pathways and your comfort level. Always cleanse before and after the routine and use a light oil or serum to ensure smooth, non‑abrasive glides.
- Neck and collarbone: start at the base of the neck, sweeping from the center outward toward the collarbone to encourage drainage.
- Jawline to ears: along the jawline, with light pressure, guiding toward the ear; repeat on both sides.
- Cheeks to temples: center of the cheeks outward to the temples with an upward lift to support lymph flow.
- Under‑eye and brow area: extremely gentle outward motions; avoid direct pressure on the delicate eye contour.
- Forehead: horizontal outward strokes from the center to the temples to help with stagnation relief.
Frequency and safety: aim for 3–5 sessions per week, adjusting pressure to comfort and skin tolerance. Always cleanse before and after, and avoid irritated skin. If you have lymphatic or circulatory concerns, consult a healthcare professional before starting a gua sha routine.

Comparative Guide: Matching Tool and Technique to Skin Type
Selecting the right tool and technique depends on your goals, skin type, and experience. Here’s a practical quick-reference guide:
- Beginners: Jade or rose quartz with broad flat edges for comfortable glides and reduced drag points.
- Sensitive skin: Cooler jade surfaces with a smooth finish and gentle curves to minimize friction and irritation.
- Contour focus (cheekbones, jawline): Curved edges and larger surfaces to align with facial geometry.
- Precise work (nose, lips, brows): Smaller, pointed or spoon shapes for accuracy and control.
- Lymphatic emphasis: Tools with gentle curves and light bevels to guide drainage without tugging.
Material considerations:
- Jade: durable, typically cooler, and forgiving for most skin types.
- Rose quartz: luxurious feel with a slightly different surface texture; many users report a soothing sensory experience.
- Metal or specialty shapes: can offer sharper edges for precise zones but require refined pressure and care on sensitive skin.
Routine Architecture: A Week‑Long Plan for Radiant Skin
Below is a flexible framework you can adjust to your schedule. Consistency matters more than intensity, so choose a rhythm you can sustain.
- Day 1 – Refresh and Glow: gentle glides with jade, focus on cheeks and under-eye area, followed by lymphatic drainage.
- Day 2 – Contour Emphasis: curved edges along cheekbones and jawline, with light scraping in targeted zones.
- Day 3 – Detox and Drain: emphasis on drainage strokes, neck, and collarbone, repeat sides.
- Day 4 – Quiet Recovery: shorter session with soothing glides and a focus on forehead and temples.
- Day 5 – Full Routine: combine glides, scrapes, and drainage in a full facial sequence.
- Days 6–7 – Rest or Light Maintenance: optional light maintenance with minimal pressure.
Seasonal adjustments: warmer months may benefit from cooler stones for redness management, while drier months may require richer oils or serums to maintain glide and barrier support.
Accessory Pairings: Oils, Serums, and Tools
For best results, pair gua sha with supportive skincare products. Lightweight oils or serums reduce drag and enhance glide, while humectants like hyaluronic acid can help hydrate the skin during and after the routine.
- Oils: choose non‑comedogenic formulas suitable for your skin type. Jojoba oil or squalane blends work well for many users.
- Serums: hydrating serums or peptides can complement gua sha by improving plumpness and glow.
- Tools: consider complementary items such as essential oil blends for a spa-like routine or a silicone grip handle for easier control.
Note: patch test new products before integrating them into your gua sha routine to minimize risk of irritation or breakouts.
Safety, Cleaning, and Longevity of Tools
Protect your skin and extend tool life with these best practices:
- Always cleanse both skin and tool before and after use.
- Use a facial oil or serum to reduce drag and protect the epidermis.
- Avoid active rashes, open pimples, or irritated skin; stop if you experience burning or redness
- Sanitize tools regularly and replace materials if there are cracks, chips, or rough edges.
- Store in a clean, dry place away from direct sunlight to maintain the integrity of the surface material.
Maintenance: Cleaning Rituals and Longevity Tips
To keep your gua sha tool in top condition, rinse with warm water and a gentle soap after each use, pat dry with a clean cloth, and occasionally sanitize with a 70% isopropyl alcohol wipe. Avoid dropping the tool, as impact can chip edges or dull surfaces. If your tool develops a rough texture, use a soft cloth to buff and re‑polish the surface gently.
Illustrations and Visual Guide
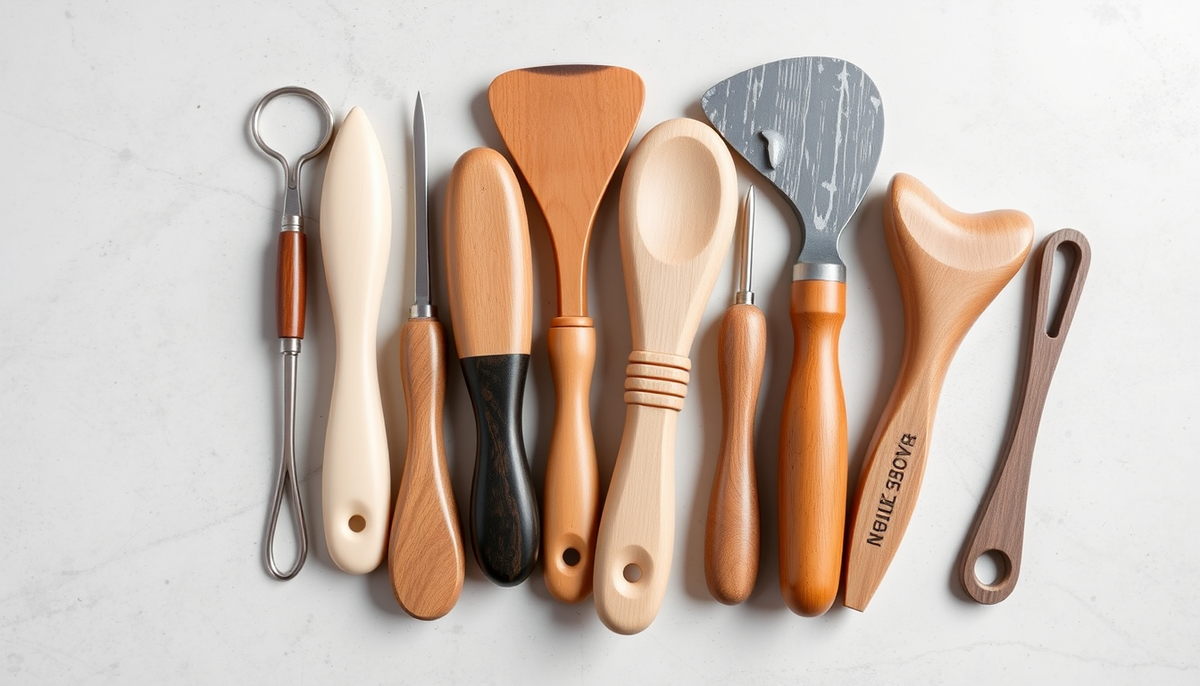
The visuals below illustrate tool geometry, stroke variations, and drainage sequences to complement your practice. Alt text is included to enhance accessibility and SEO.


FAQ: Quick Answers to Common Questions
- Does gua sha actually work? When used correctly with appropriate products and technique, gua sha can improve microcirculation, reduce puffiness, and enhance the appearance of the skin for many users. Individual results vary.
- Is gua sha safe for sensitive skin? Yes, when performed with a gentle touch, cooler stones, and ample lubrication. Always listen to your skin and modify pressure accordingly.
- How often should I gua sha? Start with 2–3 sessions per week and adjust based on skin tolerance and schedule.
- What oils are best? Lightweight, non‑comedogenic oils that suit your skin type, such as jojoba or squalane blends, work well for most users.
- Can I use gua sha around the eye area? Exercise extreme caution; use very light pressure and avoid direct pressure on the orbit. Consider using a smaller tool and softer technique in this area.
Shop LovA Body: Elevate Your Gua Sha Routine
For those seeking premium tools and complementary skincare products, explore LovA Body’s curated collection of gua sha sets and related accessories. High‑quality materials, thoughtful geometry, and careful craftsmanship can elevate your practice and results.
Visit Lova Body to discover jade and rose quartz gua sha tools, oils, and serums designed to pair with your routine. You can also shop Gua Sha Tools at LovA Body for curated bundles and exclusive offers. These links are sponsored to support ongoing content creation and provide you with direct access to premium products.
Disclosure: This article contains affiliate links. Purchases made through these links may provide a commission to the publisher at no extra cost to you.

Leave a comment
This site is protected by hCaptcha and the hCaptcha Privacy Policy and Terms of Service apply.