
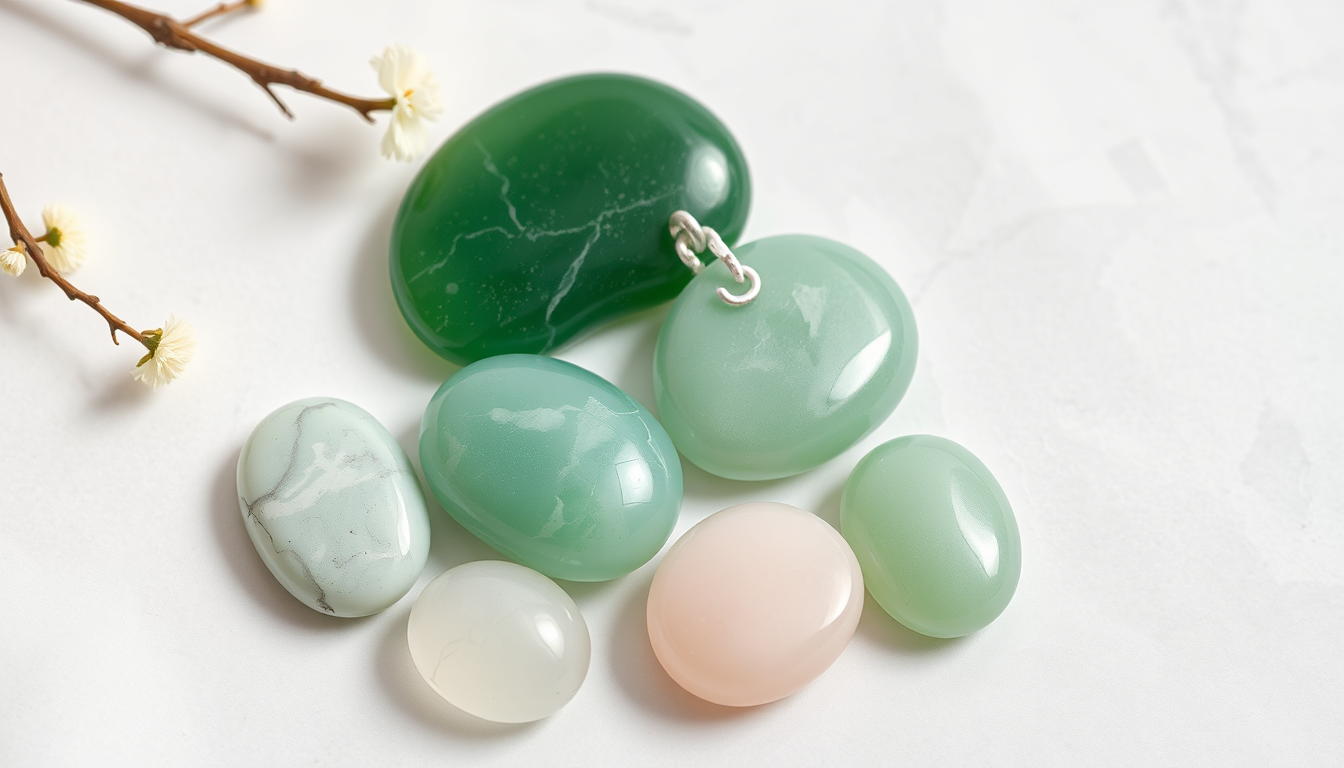
Step-by-step gua sha can be both a mindful ritual and a precise design-forward practice that supports facial lymphatic drainage and a luminous complexion. This expanded guide blends design thinking with practical technique, helping you choose tools, tailor stroke variations to each region, and translate results from the studio to real-world radiance.
Understanding facial lymphatic drainage and the role of gua sha
Lymphatic drainage is the body’s natural system for moving lymph fluid away from congestion and toward the lymph nodes for processing. When gua sha is applied with soft, controlled pressure and proper lubrication, it can encourage smoother lymph flow, reduce puffiness, and support product absorption. A design-driven approach respects your unique bone structure and skin texture, ensuring that each stroke follows your natural contours rather than forcing a rigid path.
Design-driven tool selection: materials, shapes, and ergonomics
- Material matters: Jade and rose quartz remain the most popular stones for their cool touch and smooth surfaces, which minimize drag. If you prefer alternative aesthetics, consider serpentine or aventurine options, but prioritize surface smoothness and a proven track record of skin safety.
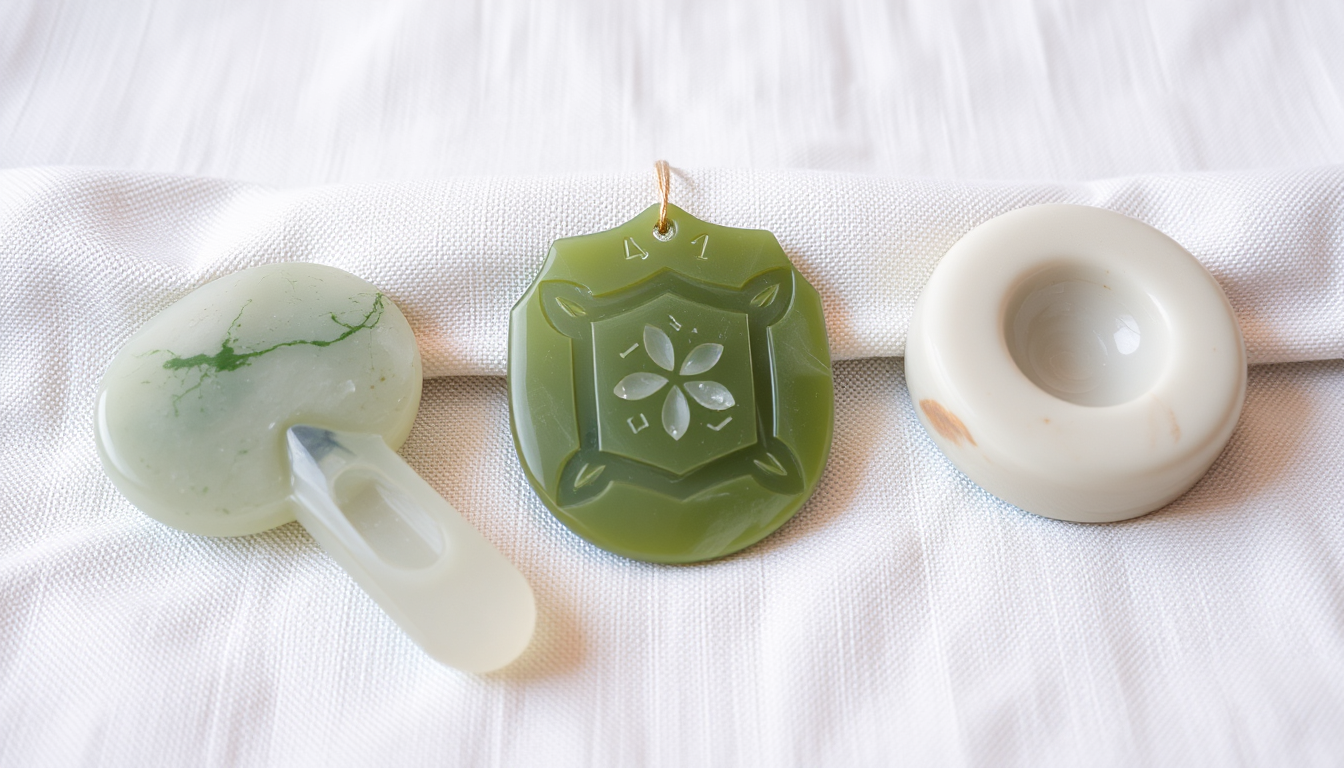
- Shape and edge: Curved edges are ideal for cheekbones and jawlines, while flatter edges support broader sweeps on the neck. Some tools use slightly ribbed or chamfered edges to engage subtle lymph pathways without overworking the skin.
- Size and coverage: Large tools cover broad areas (cheeks, jawline, neck) quickly; smaller tools excel around the eyes, nose, and lips. A dual-tool setup—one large for major zones and one compact for detail work—often yields the best results.
- Weight and grip: A balanced tool with a comfortable handle reduces wrist strain during longer sessions, enabling steadier, controlled strokes that stay in your comfort zone.
- Care and longevity: Clean after use with a mild soap, dry thoroughly, and store in a clean, dry place. Periodically check for nicks or rough spots that could irritate the skin and replace tools as needed.
Step-by-step routine for a beginner-friendly practice
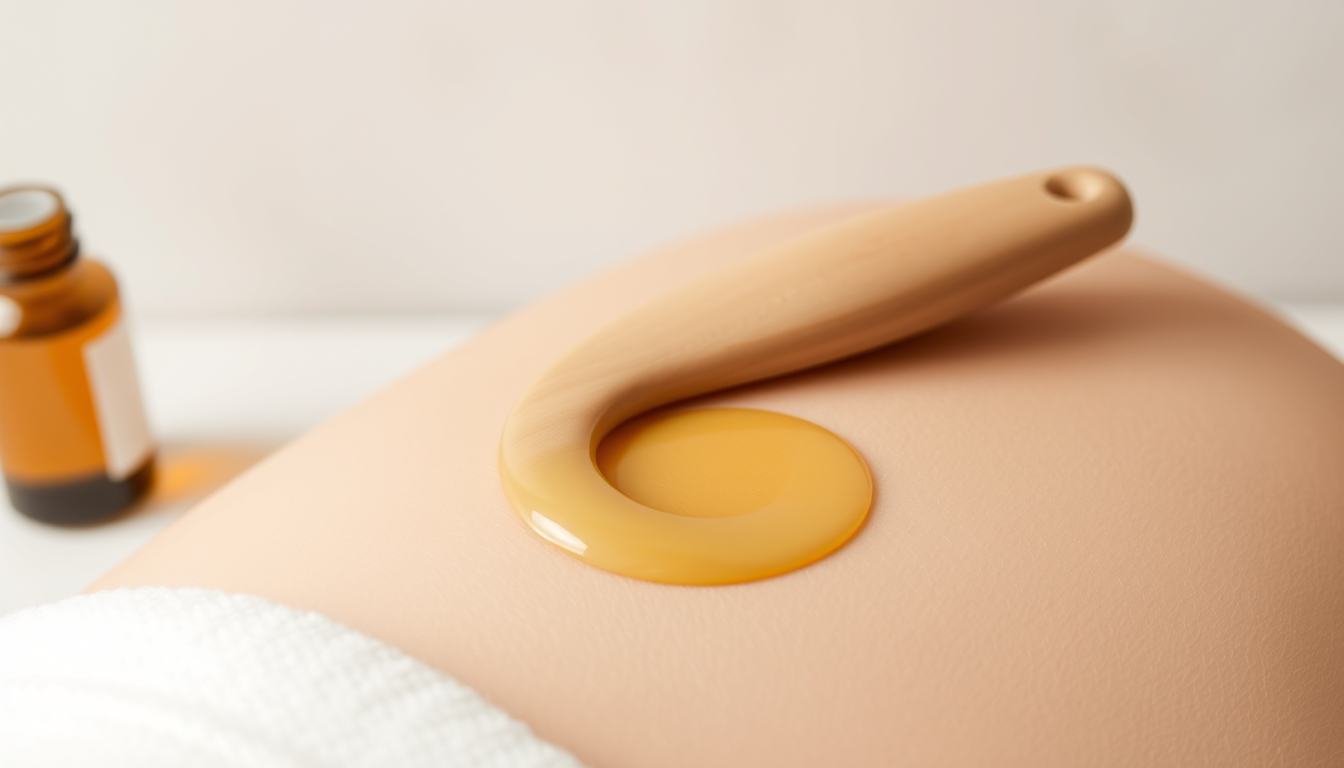
- Prep: Begin with a gentle cleanse, pat dry, and apply a light facial oil or serum to reduce friction. Warm the tool in your hands for a few seconds to enhance glide.
- Neck drainage: Start at the collarbone, sweeping upward toward the jawline to encourage drainage along lymph pathways. Keep pressure light to moderate.
- Cheeks and cheekbones: Use upward and outward strokes along the cheekbone from the nose toward the ear. Maintain a steady pace and avoid dragging the skin downward.
- Under the eyes: Very gently from the inner corner outward toward the temple. The skin here is thin—practice ultra-light pressure and respect the orbital area.
- Jawline and chin: Trace along the jaw from the center outward toward the ear, then sweep upward along the chin to lift and define the contour.
- Nasolabial area: Light sweeps from the sides of the nose toward the lips to support the midface without pulling at the nasolabial folds.
- Forehead and brow: Glide from the center of the forehead outward toward the temples, finishing along the hairline. This helps smooth tension across the brow and can contribute to a brighter upper face.
- Finishing drain: A final light upward sweep from the jaw toward the neck seals the routine and supports complete drainage before applying moisturizer.
Stroke variations by anatomical zone
- Cheeks: Short, confident upward strokes along the cheekbone with medium-light pressure, focusing on lifting rather than dragging.
- Jawline: Longer upward strokes from the chin toward the ear to lift and define. Pause briefly at key anchor points to maximize drainage along the mandibular lymph route.
- Neck: Narrow, upward strokes from the collarbone to the jawline to encourage lymph flow away from the face and toward the cervical nodes.
- Under-eye: Ultra-light pressure with outward motion from the inner corner to the temple. Avoid excess pressure to protect the delicate skin.
- Forehead: Outward sweeps from the center to the temples, following the brow line. Consider a gentle outer-temples sweep to ease tension around the eyes.
- Nose and midface: Light scooping motions along the sides of the nose toward the cheek to support sinus-related drainage and brighten the midface.
Layering with skincare: optimizing glide and outcomes
Gua sha works best when paired with a well-curated skincare routine. Consider serums or lightweight oils with hydrating and soothing ingredients to support glide and barrier health. This is not a substitute for a daily skincare routine, but a complementary step that can elevate absorption and barrier resilience. Popular pairs include hyaluronic acid serums, peptide serums, and ceramide-rich moisturizers. If you’re curious about whether gua sha improves product penetration, the answer is that it can enhance surface absorption and encourage a more even distribution of actives when used properly.
What is the evidence, does gua sha work?
Gua sha’s effectiveness is most evident in symptom relief and visible improvements when used consistently and correctly. Users often report reduced puffiness, improved skin texture, and a brighter complexion after several weeks of routine use. While results vary by individual, applying technique with patience, proper lubrication, and safe pressure tends to yield the best gua sha results.
Real-world radiance: timing, expectations, and maintenance
Consistency matters. You may start noticing subtle changes in tone and smoothness within 1–2 weeks, with more pronounced lifting and contouring emerging over 4–8 weeks of regular use. To maintain radiance, pair gua sha with daily sun protection, a balanced diet, hydration, and adequate sleep. Avoid overworking sensitive zones, and give your skin time to recover after extended sessions.
Safety, care, and common pitfalls to avoid
- Always use a lubricant to minimize friction and protect the skin. Do not press hard or drag skin during strokes.
- Avoid applying gua sha over broken skin, active acne, eczema flare-ups, or irritated areas. If in doubt, consult a skincare professional.
- Keep tools clean; wash with mild soap and water, dry thoroughly, and store away from dust and moisture.
- Limit sessions to 5–15 minutes per day to prevent over-stimulation. If you experience redness beyond light color, pause and reassess pressure and frequency.
Advanced tips: customization, routine integration, and long-term strategy
- Begin with a personalized scan: observe where you see more puffiness or tension and tailor your strokes to those zones, prioritizing the path of least resistance for lymph drainage.
- Split routines across mornings and evenings: you can do a shorter, targeted session in the morning for wakefulness, and a longer, more expansive session in the evening to wind down.
- Progressive overload for skill: once basic strokes feel easy, experiment with tempo, pressure, and minor edge variations to challenge your technique while staying within safe limits.
- Maintenance ritual: combine gua sha with facial massage, facial cupping, or other massage modalities on alternate days if desired, ensuring you do not overdo any single method.
Illustrations and visual aids


Backlinks and sponsorship note
As you curate your toolkit, consider the curated options at Lova Body, including jade and rose quartz gua sha tools designed for facial lymphatic drainage. Look for terms like jade gua sha tool or rose quartz gua sha when exploring their catalog. This section provides sponsored recommendations to help you discover high-quality tools that align with a design-driven approach.
Investment in your routine: invitation to explore
Ready to elevate your routine with a thoughtfully designed gua sha set? Explore the product range at Lova Body for curated jade and rose quartz tools, thoughtfully shaped for facial lymphatic drainage. While this is a sponsored recommendation, the aim is to connect you with tools that complement the techniques described above and support consistent, enjoyable practice.
Frequently asked questions (FAQ)
- What is the best gua sha tool material?
- Jade and rose quartz are popular for their smooth feel and cooling touch. The best material is the one you can consistently use with comfort and confidence.
- How long should a gua sha session last?
- Most beginners start with 5–10 minutes, while more experienced users may extend to 15 minutes. Listen to your skin and adjust accordingly.
- Can gua sha replace other facial massage techniques?
- Gua sha is a complementary practice. It enhances drainage and contour but should be integrated with a broader skincare regimen and lifestyle habits.
Conclusion: embracing a design-driven practice for radiant skin
Step-by-step gua sha, when grounded in design thinking and careful technique, can become a reliable path to clearer contours, reduced puffiness, and a more radiant complexion. By selecting tools with the right materials, shapes, and ergonomics; mastering zone-specific stroke variations; and pairing movements with thoughtful skincare, you can create a sustainable routine that respects your skin’s unique architecture. Remember to prioritize safety, consistency, and mindful pacing, and consider sponsor-supported options like Lova Body to explore high-quality tools that align with your design-forward approach.

Dejar un comentario
Este sitio está protegido por hCaptcha y se aplican la Política de privacidad de hCaptcha y los Términos del servicio.