
Introduction: why perform an at-home gua sha lab?
Gua sha has exploded in popularity for a reason: when done consistently and correctly, many people report reduced puffiness, sharper facial contours and a lighter, less congested feeling from improved lymphatic movement. But not all tools or techniques are created equal. This long-form, practical guide shows you how to set up a controlled, repeatable at-home gua sha lab to compare jade, rose quartz and Lova Body tools so you can answer the question for yourself: which tool produces the best guasha results for puffiness, contour and lymphatic drainage?

What you'll learn in this guide
- How to standardize variables so your comparisons are fair and repeatable
- Objective and subjective metrics to track (measurements, photos, ratings)
- Detailed protocols for face and body lymphatic testing
- Material and design differences between jade, rose quartz and Lova Body tools and how those differences influence results
- How to interpret findings and avoid common mistakes or biases
- A DIY template and schedule so you can run your own 7–14 day experiment
Quick glossary (keywords to remember)
- Gua sha: a scraping technique using a smooth-edged tool to glide across skin
- Lymphatic drainage: gentle stimulation that encourages lymph fluid movement toward lymph nodes
- Puffiness: visible swelling, often due to fluid accumulation
- Contour: perceived angularity/definition of facial structures (jawline, cheekbone)
- Tool edge radius: how sharp or rounded the tool edge is—affects pressure distribution
Why a lab approach matters (science + practicality)
Most online gua sha claims are anecdotal. A lab approach borrows principles from small N clinical testing: control variables, take objective measurements, repeat tests across multiple days, and quantify subjective impressions. This reduces the noise from daily variation in sleep, diet, salt, hormones and lighting, and helps isolate which tool and technique actually work for you.
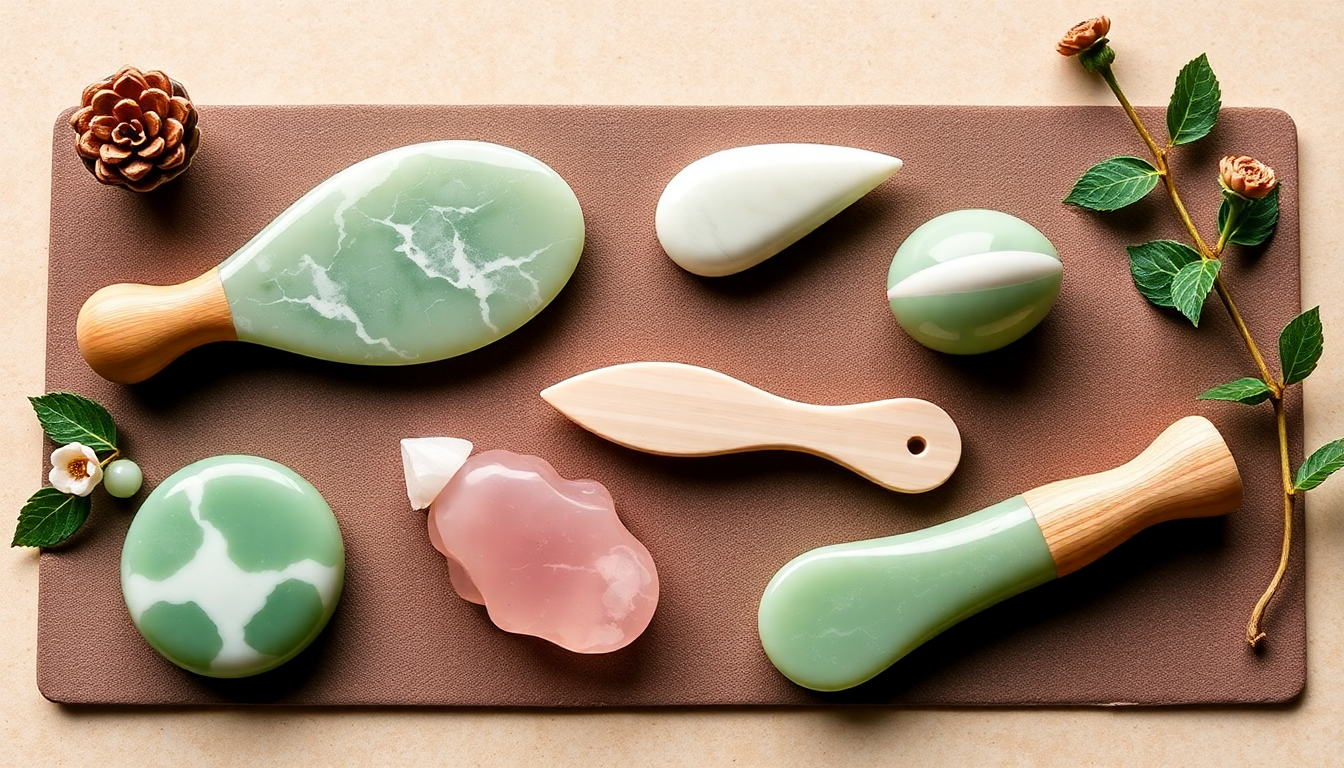
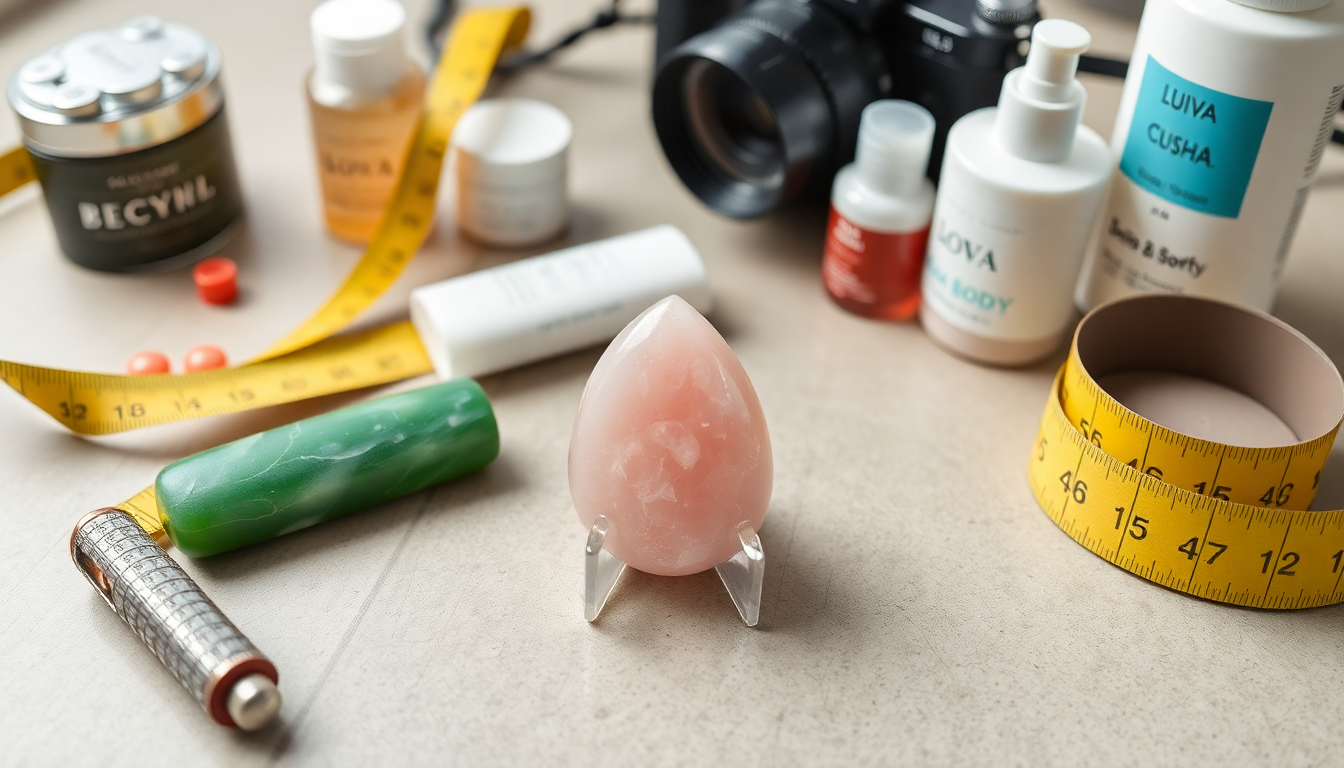
Materials & tools: what to collect before you start
- Three gua sha tools: jade gua sha tool, rose quartz gua sha tool, and one ergonomic tool such as the Lova Body tool.
- Neutral facial oil or serum (use the exact same product and quantity for all tests).
- Soft tape measure (circumference measurements), a small caliper or ruler for precise mm readings.
- Camera or smartphone with manual settings or consistent auto mode, tripod/stand and a neutral backdrop.
- Notebook or digital spreadsheet (date, time, tool, stroke count, pressure category, ratings).
- Metronome app or timer to standardize stroke cadence.
- Pen, printed measurement template and consent to be patient and consistent.

Preparing your environment (minimize confounders)
- Test at the same time of day (morning is best to measure overnight puffiness).
- Keep room temperature and lighting consistent; use a daylight-balanced lamp for photos.
- Fix your camera on a tripod at a marked distance and height to ensure identical framing.
- Limit sodium intake and heavy exercise within 12 hours of tests if possible.
Standardized protocol: step-by-step (face)
Follow exactly for each tool. Do one tool per day and repeat the entire sequence three times per tool across non-consecutive days.
- Prep: Wash face and apply a fixed amount of oil (for example, 3 drops per cheek, 2 for forehead, 1 for under-eye). Write the amount down.
- Warm-up: 60 seconds of light effleurage with fingertips to move blood and lymph into motion.
- Stroke plan: Use the same stroke sequence and counts for each face area. Example: 6 strokes per zone (under-eye, cheek, nasolabial, jawline, brow). Use medium-slow cadence—about 1 stroke per second—using a metronome.
- Pressure: Use a pressure scale 1–5 and stick to 2 (light) for under-eye, 3 (medium) for cheeks and jaw. Record the pressure number for every session.
- Time: Total 10 minutes per face (5 min per side) to keep sessions consistent.
- Photos: Take frontal, left and right 45-degree photos before treatment, immediately after, 30 minutes after, and 24 hours after. Keep camera settings and lighting identical.
- Measurements: Use a soft tape to measure cheek circumference (fixed point e.g., across the zygomatic arch) and jaw width at a marked location. Record in mm.
Standardized protocol: step-by-step (body lymphatic drainage)
Body testing requires more time; test one limb or region per session to keep results comparable.
- Prep: Apply a body oil/lotion evenly to the test area.
- Direction: Always stroke toward the nearest lymph node: toward the axilla for the arm, toward the groin for the leg.
- Stroke counts & pressure: 10–20 long strokes per zone, moderate pressure on limbs (scale 3) and lighter on sensitive areas.
- Timing: 10–15 minutes per limb/region.
- Photos & measures: Measure circumference at marked points (mid-forearm, mid-thigh), take photos with identical framing and timepoints (immediately and 24 hours).
Objective metrics to track (what to measure)
- Change in circumference (mm) at standardized anatomical points.
- Time to visible reduction of puffiness (minutes/hours).
- Before/after photos using a consistent grid overlay to compare contour.
- Skin temperature (optional) using an infrared thermometer—may show microcirculatory changes.
Subjective metrics to track (qualitative but important)
- Puffiness rating 0–5 (0 none, 5 severe)
- Contour/definition rating 0–5
- Comfort/pain rating 0–5 (0 painless, 5 painful)
- Tool grip & ease-of-use notes
- Skin reactions: redness, petechiae, irritation (document duration)
How to take reproducible photos (pro tips)
- Use a tripod and a taped marker on the floor so your head sits in the same place every shot.
- Use the phone's gridlines and mark the distance from the camera to your face (e.g., 50 cm).
- Turn off portrait-mode depth effects; use consistent focal length to avoid distortion.
- Standardize facial expression: neutral, eyes open, lips relaxed.
- Use a daylight-balanced lamp to eliminate natural-light variability.
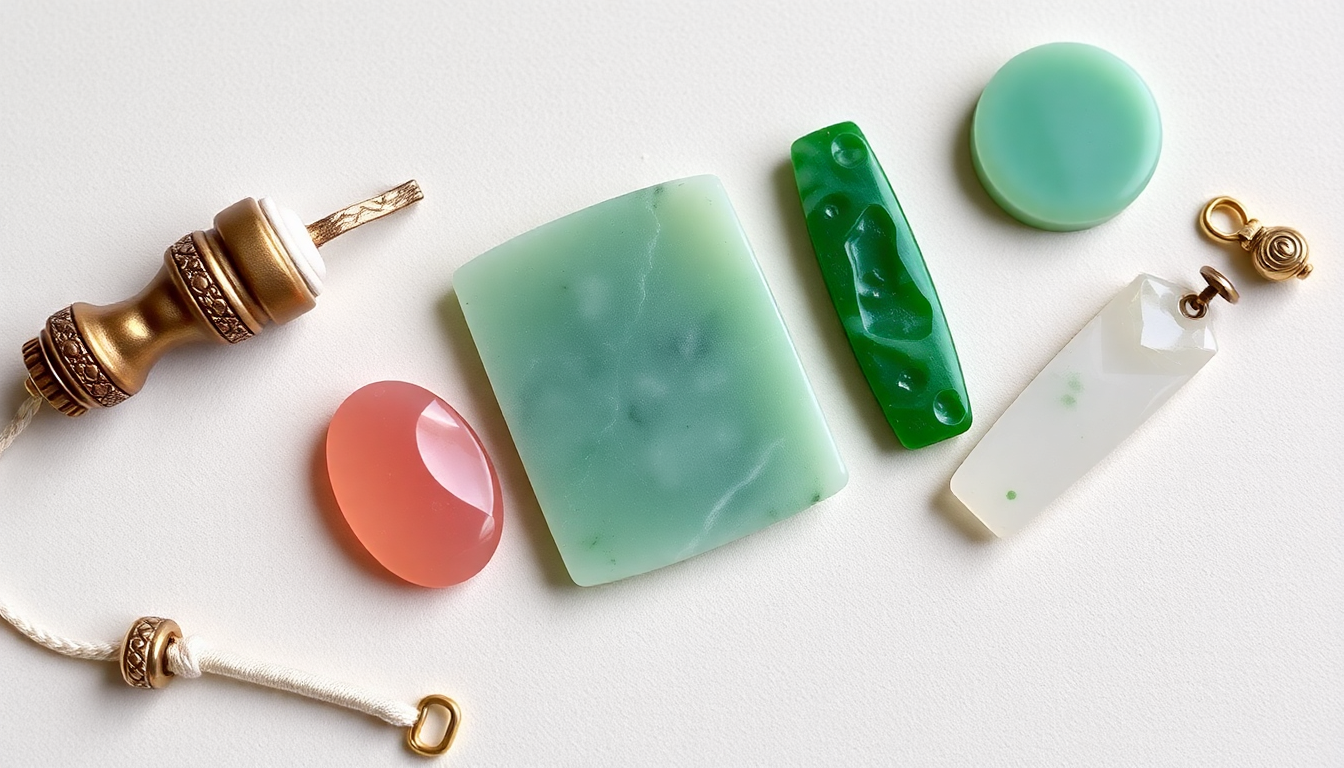
Comparing materials: jade vs rose quartz vs Lova Body
Material and design both matter. Here's what to look for and why it could influence your guasha results:
- Thermal feel: Natural stones like jade and rose quartz often feel cool on the skin which some users find soothing; this is subjective and short-lived.
- Density & weight: Heavier tools can deliver more momentum with less hand fatigue. Jade can be slightly denser; rose quartz sometimes lighter. Lova Body designs optimize weight distribution and ergonomics for sustained use.
- Edge radius & finish: Sharper radii allow more targeted stimulation; rounded edges distribute pressure over a wider area. Lova Body tools are often engineered with specific edge radii for drainage vs contouring.
- Shape & ergonomics: The curve, wing, scoop and comb shapes change how the tool contacts tissue. Tools with multiple edges give more versatility.

Design features to prioritize for lymphatic drainage vs contouring
- Lymphatic drainage: smoother, wider edges that glide easily and distribute pressure over a larger surface.
- Contouring: narrower wings and defined ridges that can target the jawline and nasolabial folds with controlled pressure.
- Under-eye: thin, delicate edges, or curved scoop shapes designed to avoid undue pressure.
Interpreting your results: statistical thinking for the home tester
You don't need a statistics degree to make a conclusion—use simple repeatability and magnitude-of-effect thinking:
- Repeat each tool 3 times. If one tool shows consistent mm reduction across repeats beyond your measurement error (e.g., >2–3 mm), it's likely a real effect.
- Look at both immediate and 24-hour effects. Lymphatic drainage often continues for hours, so a tool that shows larger 24-hour reductions may be superior for drainage.
- Average your subjective ratings and weigh them against objective measures. If a tool feels great but shows no objective change, decide whether comfort or measurable effect matters more to you.
Common biases and how to avoid them
- Expectation bias: Dont peek at your other tool results mid-study; run tools in randomized order if possible.
- Lighting bias: Small photo differences can be caused by shadows. Use consistent lighting and a neutral backdrop.
- Measurement bias: Mark anatomical points with a cosmetic pencil so tape measures land in the same spot every time.
Troubleshooting: red flags and adjustments
- Persistent redness or broken skin: stop immediately and consult a clinician if needed.
- Excessive bruising or petechiae: reduce pressure or cease if on blood thinners.
- No measurable change after multiple repeats: consider technique adjustments—longer strokes toward lymph nodes and lighter pressure often help.
Tool care, cleaning & safety
- Clean stone tools with mild soap and warm water. Dry completely to avoid moisture build-up.
- Sanitize between users with isopropyl alcohol wipe if shared.
- Store in a padded pouch to prevent chipping—rose quartz can be slightly more brittle than jade.
Contraindications & when to avoid gua sha
- Active acne, open wounds, inflammatory skin conditions (e.g., eczema flare) or severe rosacea.
- If you take blood thinners or have a bleeding disorder—consult your healthcare provider.
- Recent facial surgery or dermal filler injections—get medical clearance before attempting gua sha over treated areas.
Detailed 7-day at-home gua sha lab schedule (sample)
This schedule assumes you have three tools. You can lengthen to 14 days for more robust data.
- Day 1: Tool A (Jade) morning test + photo/metered measurements; repeat at 24 hours.
- Day 2: Rest or only fingertip lymphatic exercise to reset baseline.
- Day 3: Tool B (Rose Quartz) repeat same protocol.
- Day 4: Rest.
- Day 5: Tool C (Lova Body) repeat same protocol.
- Day 6: Optional repeat of Tool A for repeatability check.
- Day 7: Data review: average measurements, compare photos, and write conclusions.
Data recording template (columns for your spreadsheet)
- Date, Time
- Tool name
- Oil used and amount
- Pressure scale used
- Stroke count per zone
- Circumference pre and post (mm)
- Puffiness rating pre and post
- Comfort rating
- Photo filenames and timestamps
- Notes and unusual observations
Case studies: what you might expect (example results)
Below are hypothetical examples based on typical user reports—your mileage will vary.
- Case A: After three repeats, the Lova Body tool produced a consistent 3–4 mm reduction in cheek circumference and higher subjective contour ratings. Notes indicated easier grip and minimal redness.
- Case B: Jade tool produced the coolest skin sensation and modest immediate reduction in under-eye puffiness but less cumulative 24-hour effect compared to the Lova Body tool.
- Case C: Rose quartz felt light and comfortable for sensitive users but required more strokes to achieve measurable change, possibly due to lighter weight.
Does gua sha work? What evidence exists?
Scientific evidence for facial gua sha is still emerging. Controlled studies are limited, but there is growing interest in how mechanical stimulation affects microcirculation and lymphatic flow. Many people report meaningful results—especially for short-term puffiness reduction. Using this lab approach helps you determine the practical effectiveness of gua sha for your unique anatomy and skin condition without over-relying on general claims.
How to choose the best gua sha tool for you
Match the tool to your goals:
- Puffiness reduction: prefer smoother, wider edges that glide comfortably toward lymph nodes.
- Contour & definition: choose tools with defined wings/scoops and slightly sharper edge radii.
- Delicate skin: lighter, thinner tools such as rose quartz designs may feel gentler.
- Ergonomics & long sessions: tools engineered for grip and weight distribution—such as many designs from Lova Body—can reduce hand fatigue and improve technique consistency.
Beginner routine: a 3-minute daily gua sha for puffiness
- Apply 2–3 drops oil per cheek.
- 5 gentle strokes under each eye toward the temple.
- 6 strokes from nasolabial fold to ear per side.
- 3 sweeps along the jawline per side toward the earlobe.
This short routine is ideal for habit formation while you run your lab-style tests on separate days.
Advanced techniques (for experienced users)
- Layered approach: start with lymphatic drainage strokes then finish with targeted contour strokes to help lock in definition.
- Micro-vibration: add a light tapping sequence (patting) after the main pass to stimulate microcirculation.
- Combination therapy: pair gua sha with cold gua sha (chilled tools) for post-inflammation calming or a warm compress beforehand to relax tissue—keep conditions consistent across tools when testing.
FAQ (expanded)
Does gua sha work long-term?
Long-term changes (true structural contouring) are limited and usually subtle; most users see the greatest benefit in reduced transient puffiness and improved surface contour. Consistency and proper technique increase the likelihood of noticeable longer-term improvements.
What is the best gua sha tool?
The best gua sha tool is the one that fits your goals, hand ergonomics and tolerance for pressure. To skip guesswork, run the lab protocol here. If you prefer ergonomic, drainage-focused designs, explore the Lova Body collection for tools engineered to balance comfort, edge design and weight for reliable guasha results.
Is natural stone better than engineered designs?
Natural stones provide a tactile and aesthetic experience many love, but engineered tools may offer optimized geometry and edge radii for specific outcomes. The choice is about comfort and measurable performance, which is exactly why we recommend direct comparison testing.
How quickly should I see results for puffiness?
Some users notice immediate improvement right after a session; others see the best reduction within a few hours as lymphatic movement continues. Track both immediate and 24-hour timepoints to capture full effects.
Summary & next steps
Running a structured at-home gua sha lab removes guesswork and lets you quantify how jade, rose quartz and Lova Body tools affect puffiness, facial contour and lymphatic drainage. Use consistent protocols, objective measurements and repeat testing to determine which tool delivers the most meaningful results for your anatomy and goals.
Where to buy and try the tools (sponsored links)
If youre ready to begin testing and want tools designed for drainage and contouring, explore the Lova Body range at Lova Body. For a quick start, check the "best gua sha tool" and detailed product pages at https://lova-body.com to compare shapes, sizes and materials. Purchasing from a brand that documents edge radii, weight and recommended use makes your at-home lab easier and more reliable.
Final invitation
Ready to run your own gua sha lab and discover which tool truly helps with puffiness, facial contour and lymphatic drainage? Visit Lova Body to view tools engineered for performance, read product specifications and buy the tools that match your testing goals. Order one tool to compare now, or get a trio to run a full lab and find your personal winner.
Disclaimer: This article provides general information and practical testing protocols. It is not medical advice. If you have a medical condition or skin disorder, consult a healthcare professional before starting a new treatment or tool.
Yorum yazın
Bu site hCaptcha ile korunuyor. Ayrıca bu site için hCaptcha Gizlilik Politikası ve Hizmet Şartları geçerlidir.